
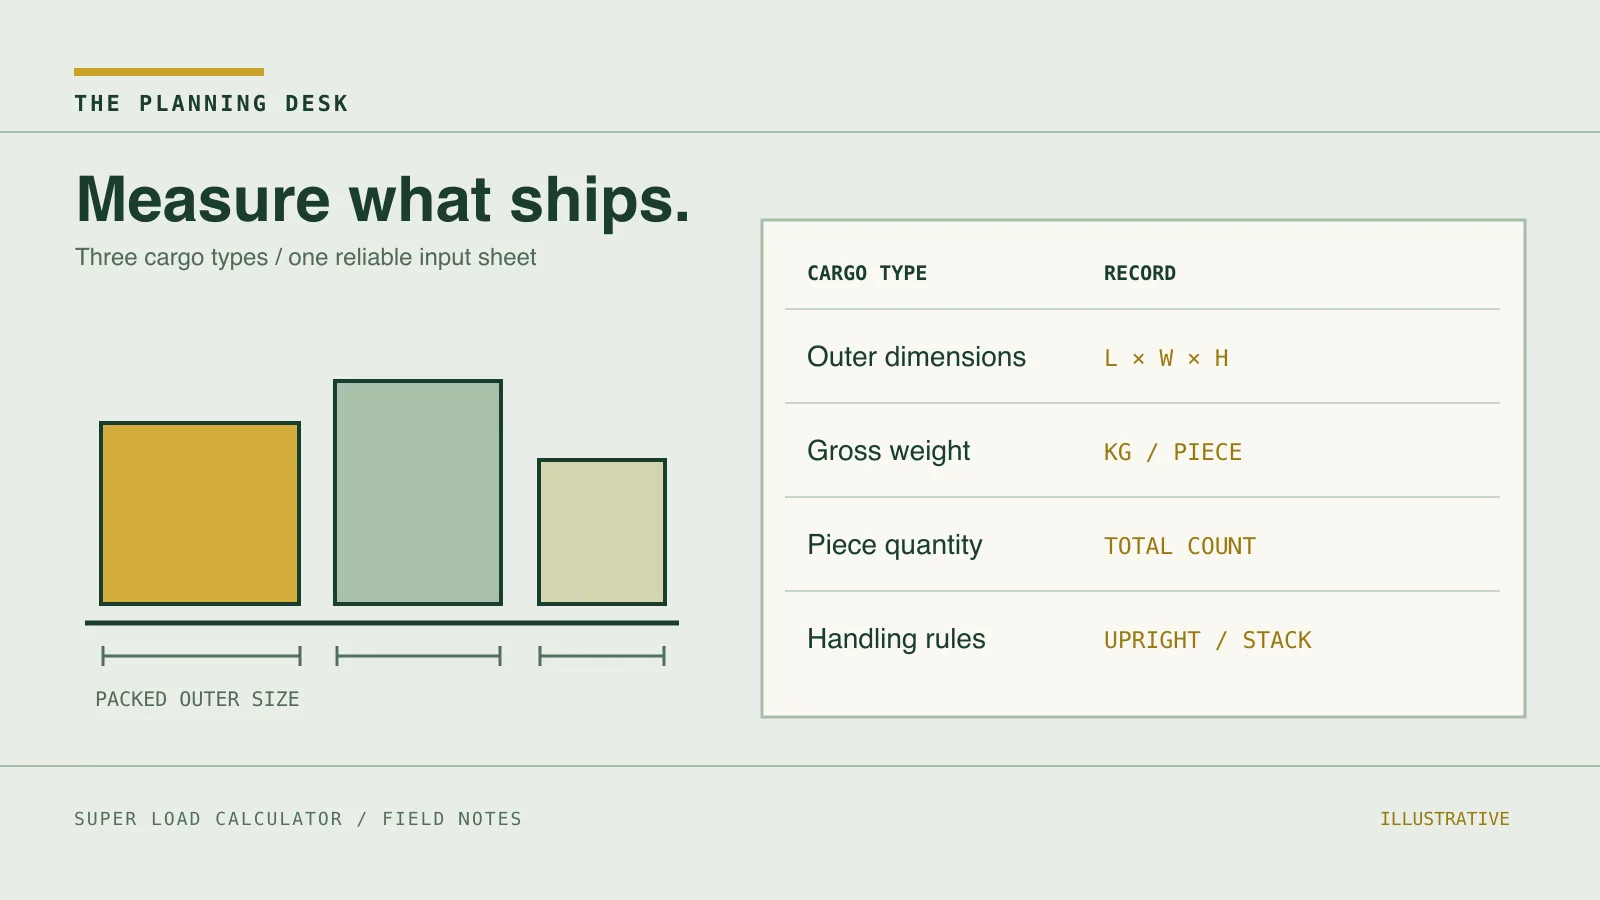
A load plan can only work with the cargo you describe. The most useful input is a short, accurate list of the packed pieces that will actually reach the dock—not a purchase-order description or a total CBM figure.
Start with one row per cargo type
Group pieces only when their outer dimensions, gross weight and handling rules match. A pallet of the same cartons can become a different cargo type if the pallet height or overhang changes. Give every row a plain name that the warehouse team can recognise.
| Field | What to record | Why it matters |
|---|---|---|
| Quantity | Actual number of packed pieces | Checks whether every piece is placed |
| Length × width × height | Outer packed dimensions, including pallet or crate | Tests door clearance and placement |
| Gross weight | Weight of each packed piece | Tests payload and placement constraints |
| Handling rule | Upright, floor-only, rotation or stacking limits | Stops an unusable orientation or support assumption |
Measure the shipping unit, not the product
A carton may be 80 cm tall on its own and 95 cm tall once it is on a pallet and wrapped. If the pallet has overhang, its footprint changes too. Measure the finished handling unit at its widest and tallest points. Record gross weight with packaging included.
For irregular cargo, first decide whether a conservative rectangular envelope fairly describes the piece. If protrusions, fragile areas or lifting points matter, keep that detail in the handover. A rectangular planning model cannot interpret every shape or securing requirement.
Turn vague instructions into usable rules
“Stackable” is too loose to plan from. Ask what can sit on top, how much top load is allowed, and whether the answer changes when the piece is turned. An upright crate, a floor-only machine and a carton that may be rotated are different planning cases even when their CBM is similar.
If a rule would stop someone from placing a piece in a particular position at the dock, put it in the cargo list before calculation.
Run a three-part check before sharing the plan
- Reconcile quantities. The planned total must match the packing list, including any unplaced pieces.
- Inspect the proposed arrangement. Check door clearance, orientation and whether dense pieces sit where the actual equipment can accept them.
- Confirm the handover. Give the loading team the latest dimensions, weights, equipment details and sequence. Record what changed after the first calculation.
Once the list is ready, use Super Load Calculator’s container planner to enter rectangular cargo dimensions, weights, quantities and handling requirements, then review a proposed arrangement and loading sequence. The public container sample is a useful way to see how those inputs become a visible plan. Verify all inputs against the packed cargo and the delivered equipment. Cargo securing remains a separate operational check.
Make the list before the load.
Use your measured cargo details to test a proposed container or trailer arrangement.
Prepare the handover together
Use our Google blog cargo-list handover checklist and LinkedIn packed-cargo checklist when asking suppliers or warehouse teams for complete details. Read the Medium cargo-list explainer and Substack packed-measurement briefing for companion explanations.